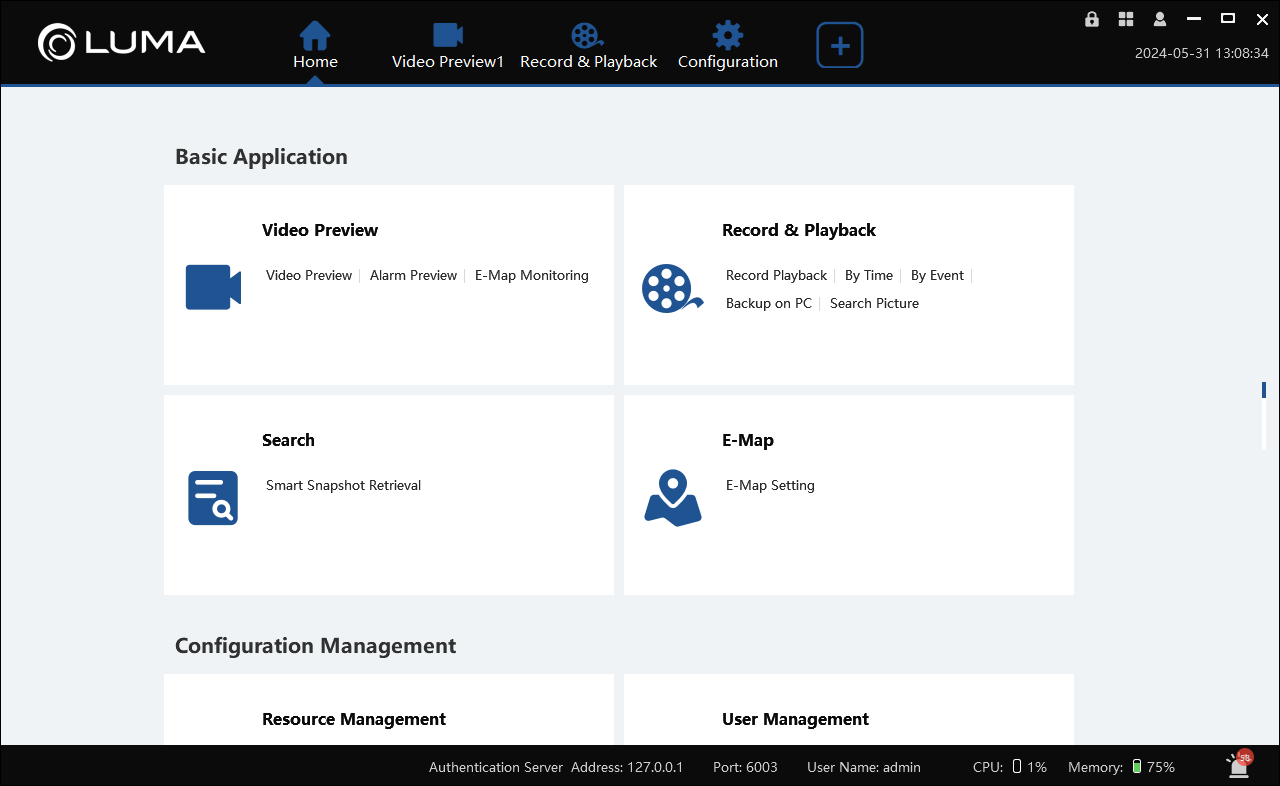
VMS - Home page and navigation bars
The Home Page shows a number of tiles, each of which aggregates several commonly used hotlinks. Click on any of the hotlinks to navigate to that page.
Navigation bar
This appears at the top of every window.
Top-right tools
Next to the standard minimize/maximize/close buttons are the following:

-
Lock: This locks all page controls. Unlock the page by clicking the Unlock button and entering the account password.
-
Add live view: This adds a live view page tab of a sort you have previously configured.
-
Account: This opens a submenu with the following options:
-
Switch User: Changes
-
Status: This provides data about the OvrC Connect site that you are viewing.
-
About: Provides data about the VMS software.
-
Modify Password: Changes the password for the current account.
-
User Manual: Sends you to these docs.
-
Page tabs
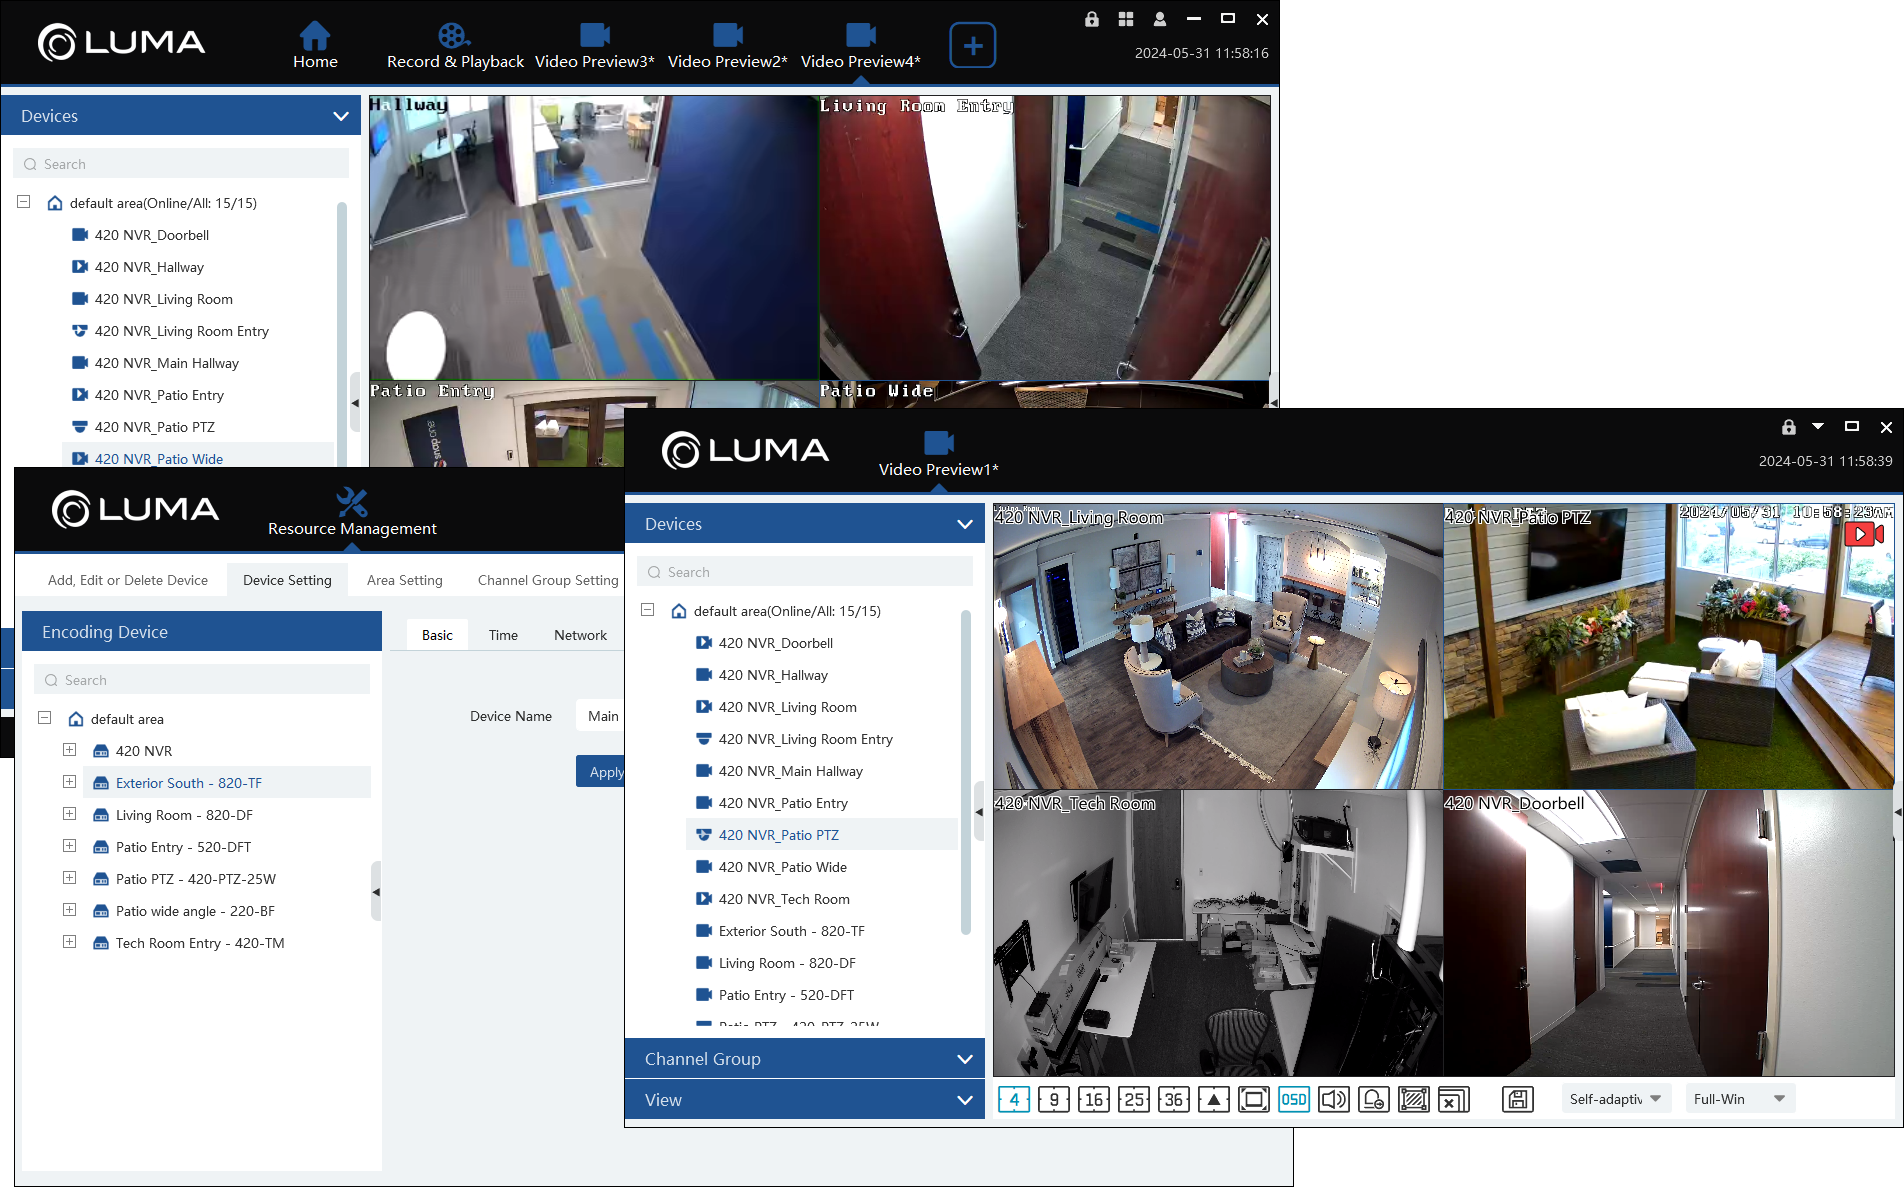
The left side of the navigation bar is dynamic: It shows hotlinked tabs for the pages you have recently visited. Hover over a page tab and the background turns blue; click the X at the upper right of the blue area to remove that page tab from the navigation bar.
Click the + icon to add a Live View page tab to the navigation bar.
You can click and drag these page tabs to the right and left to rearrange them.
Multi-window view
Drag one of these page tabs to another position for multiple-window viewing on one or several monitors. Note that this floating window cannot have any additional page tabs.
You can return a floating window to the master window as a page tab by clicking the down arrow icon and selecting the option, as shown here:

Main window
This window contains hotlinks to the various pages, grouped by function. As you hover over a group, a frame appears around it; click the star outline in the top right corner of the frame to mark that group as a favorite. Favorite groups always appear at the top of the home page.
Bottom bar
The bottom bar provides several key pieces of information regarding your system performance.
Click the alarm bell icon to open the Alarm Processing Pane.
Alarm processing pane
At the top are checkboxes to filter the list, and a toggle to filter for SOP alarms. In the top left is a counter for the alarms that have not yet been processed.
Within the list, you can click the Play or Image icons to view those files. Click the Edit icon to process the alarm notification using the dialog shown here.


